In this tutorial we’ll learn how to push a form submission to a Custom Content Type created with the popular Crocoblock plugin JetEngine by using the WS Form Webhook action.
What is a JetEngine Custom Content Type?
A JetEngine Custom Content Type (CCT) is similar to a WordPress Custom Post Type except the data is stored in a separate table in the WordPress database. This offers improved performance given that a row of data is stored in a single database record as opposed to traditional WordPress post records which have separate post meta records for each field.
Each row of data in a CCT is made up of standard JetEngine custom fields.
JetEngine provides a REST API that enables you to add new CCT rows using an API endpoint. We’ll be interfacing with that API via the WS Form Webhook action.
Create a Custom Content Type
If you don’t already have a CCT set-up, you’ll need to create one in JetEngine. We’ll refer to the JetEngine knowledge base for this step:
In this tutorial we have created a simple CCT containing three fields:
- First Name (Text)
- Last Name (Text)
- Email (Text)
Enable the REST API on the Custom Content Type
By default a CCT cannot be accessed by the WordPress REST API. In order to do that we’ll need to do the following:
- Click Custom Content Types from the JetEngine admin menu.

- Click Edit to edit your CCT.

- Edit the CCT and in the General section, check the Register create item REST API Endpoint checkbox.

- Copy down the Endpoint URL, we’ll need it later. You don’t need the POST part the beginning. For example in the above screenshot, the URL you need would be:
https://mywebsite.com/wp-json/jet-cct/newsletter_subscriber
Create an Application Password
The next step is to create an application password for accessing the REST API. You’ll use the application password in conjunction with a WordPress username to authenticate the request to the REST API.
For hardened security, you may wish to create a dedicated WordPress user that has access capabilities that match those configured on your CCT (e.g. edit_posts). This provides you with the ability to delete the user in future if you need to.
Once you have decided which WordPress user will be used to access the CCT, you can then create the application password. To do this:
- Click Users in the WordPress admin menu.

- Click Edit on the user that will have access to the CCT.

- Create an application password by entering a name in the Application Password meta box, e.g.
jcct_user. The name can be anything you wish and is used to identify the application password, it is not used as a credential. JetEngine will then provide you with a password. Copy down the password provided, we’ll need it later.

We now have everything we need to connect to the REST API:
- Endpoint URL (The CCT endpoint URL)
- Username (The WordPress username)
- Password (The application password provided by JetEngine)
Connect Your Form to the JetEngine Custom Content Type
For this tutorial we’ve created a very simple form containing three fields:

To connect the form to the JetEngine CCT, we’re going to use the Webhook action. To do this:
- Click the Actions icon at the top of the page. This will open the actions sidebar.
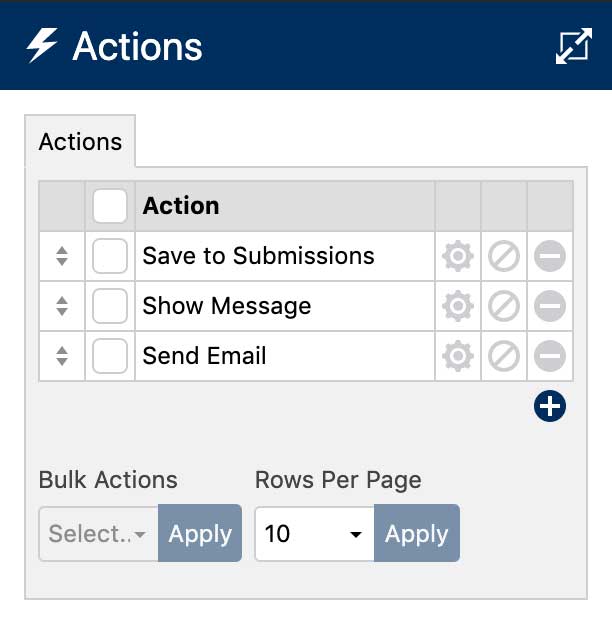
- Click the add icon below the action list to add a new icon. Choose the Webhook action.

- Once added, configure the Webhook action as follows:
- URL of Endpoint: Enter the Endpoint URL from the CCT edit screen you copied earlier.
- Request Method: POST
- Content Type: JSON (application/json)
- Field Mapping: Map each field from your form to the corresponding field name in your CCT.
- Authentication: Basic
- Username: Enter the WordPress user username (e.g.
auser) - Password: The password you were provided with when creating the application password.
- Leave all other settings as is.

- Click Save & Close to save the action settings.
Test the Form
Click the Preview button at the top of the layout editor to test the form.
If you have the WS Form debug console open, click Populate & Submit and then you can check the response from the WordPress REST API in the Log tab. You should see a 200 success message in the log that indicates a record was added to the JetEngine CCT.

You should now see a new record added to your CCT in JetEngine.