If you are using the WS Form framework you can use the following classes to style radios. The demo below is available as a template in the Demo tab when you add a new form.
Demos
Tutorials
Buttons
To style radios as buttons:
- Add a Radio field to your form
- Click the settings icon on the radio field to open the settings sidebar
- Click the Advanced tab at the top of the sidebar
- Enter
wsf-buttonin the Field setting.

- Click Save & Close at the bottom of the settings sidebar.
- Click Preview at the top of the layout editor to test the field.
Switches
To create switch options for checkboxes:
- Add a Radio field to your form
- Click the settings icon on the checkbox field to open the settings sidebar.
- Click the Advanced tab at the top of the sidebar.
- Enter
wsf-switchin the Field setting.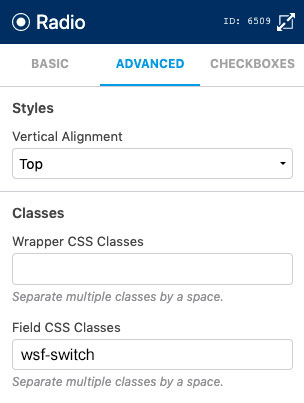
- Click Save & Close at the bottom of the settings sidebar.
- Click Preview at the top of the layout editor to test the field.
Swatches
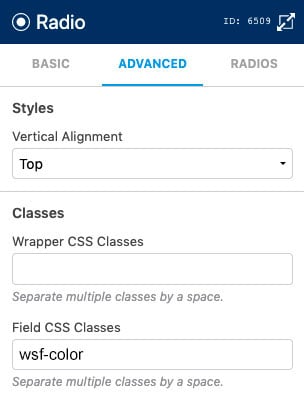
To create swatches or color options for radios:
- Add a Radio field to your form
- Click the settings icon on the radio field to open the settings sidebar
- Click the Advanced tab at the top of the sidebar
- Enter
wsf-colorin the Field setting.
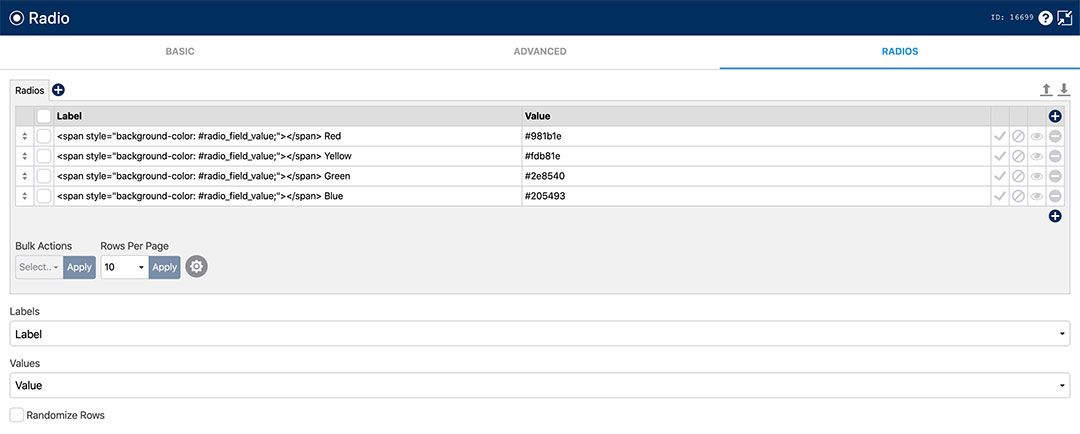
- Click the Radios tab at the top of the sidebar
- Click the expand icon to make the data grid easier to work with
- Click the add column icon, and name the column Value
- In the Label column, enter:
<span style="background-color: #data_grid_row_value;"></span> Colorfor each row. Change the word Color to whatever label you would like for that row - In the Value column, enter the hex color you would like to use for that row, for example:
#ff0000 - Underneath the data grid, choose Value in the Values setting. This tells WS Form which column to use for the radio value. Your finished radio data grid should look similar to this:
- Click Save & Close at the bottom of the settings sidebar.
- Click Preview at the top of the layout editor to test the field.
Images
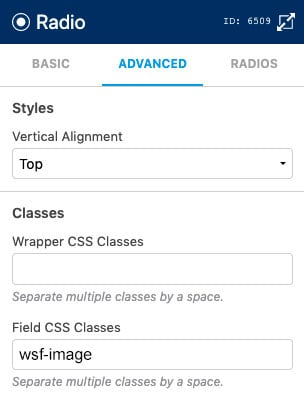
To create image options or swatches for radios:
- Add a Radio field to your form.
- Click the settings icon on the radio field to open the settings sidebar.
- Click the Advanced tab at the top of the sidebar.
- Enter
wsf-imagein the Field setting.
- Click the Radios tab at the top of the sidebar.
- Click the expand icon to make the data grid easier to work with.
- Click the add column icon, and name the column Value.
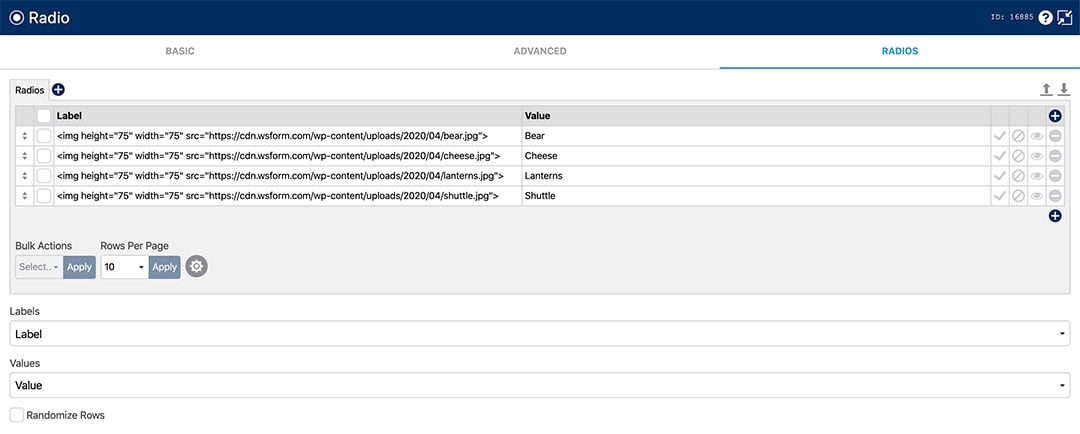
- Hover your mouse cursor over the Label column and click the Insert Image icon . Select an image from the media library. We recommend sizing the images appropriately before uploading them.
- In the Value column, enter a label for the image, e.g.
Bear. - Underneath the data grid, choose Value in the Values setting. This tells WS Form which column to use for the radio value. Your finished radio data grid should look similar to this:
- Click Save & Close at the bottom of the settings sidebar.
- Click Preview at the top of the layout editor to test the field.