
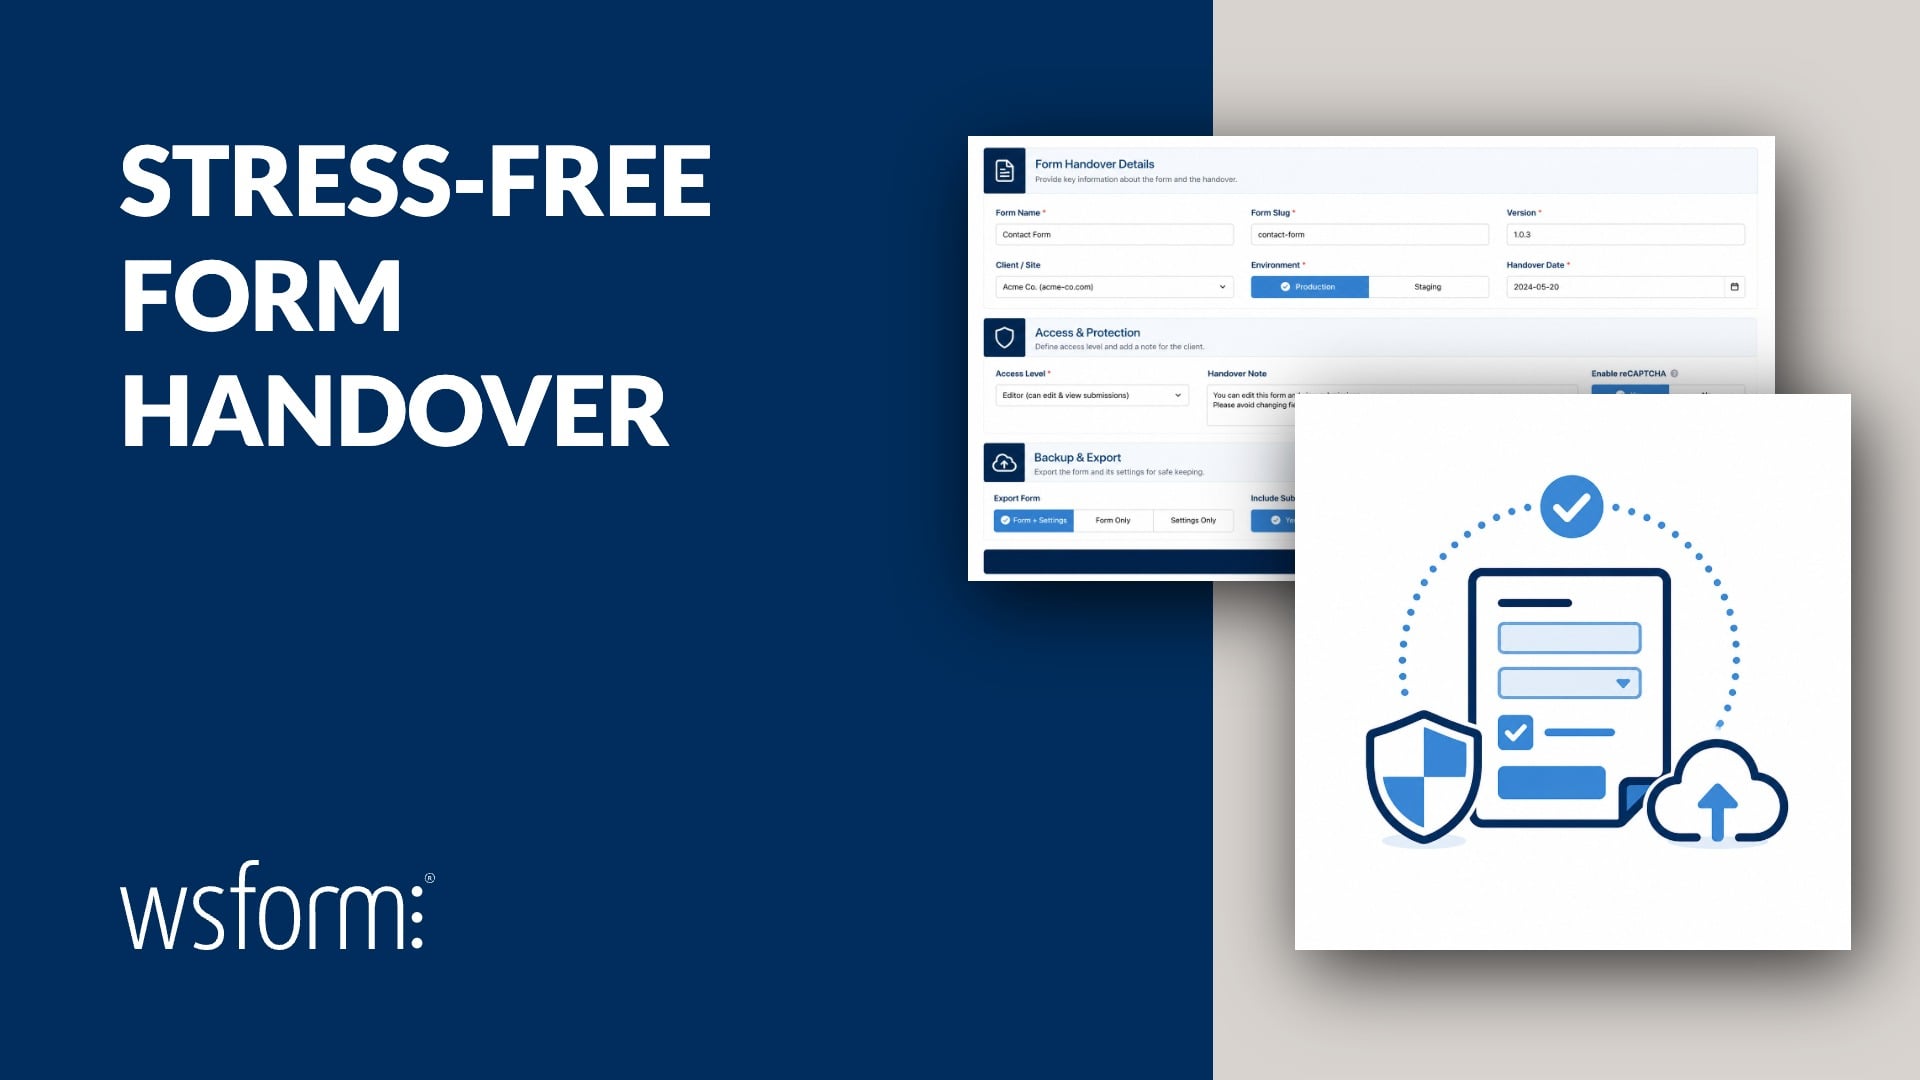
You’ve built the forms, tested the conditional logic, perfected the styling, and everything is working beautifully. Then you hand the website over to your client.
What could possibly go wrong?
Whether you’re managing a handful of forms or dozens across a busy website, keeping everything organized, consistent, and protected from unwanted changes is essential.
WS Form provides a range of tools to help agencies and developers prepare forms for production and client handover. From organizing forms and maintaining consistent styling to preventing spam and controlling who can make changes, a little preparation can save everyone a lot of headaches.
Here are eight ways to make your next form handover as stress-free as possible.
Contents
- Give Every Form a Home
- Keep Your Forms Looking Consistent
- Test Everything Before Going Live
- Keep the Spam Out
- Lock It Down Before Going Live
- Give Clients the Access They Need, Not the Access They Don’t
- Back It Up Before You Hand It Over
- Make It Easy for Clients to Build Their Own Forms
1. Give Every Form a Home
As websites grow, so does the number of forms. Contact forms, registrations, surveys, quote requests, calculators. Before long, your forms list can become a little overwhelming.
Form Folders in WS Form let you organize forms into folders and subfolders, making it easier for both you and your client to find what you’re looking for.
For example, you might organize a client’s forms into:
- Contact: General inquiries, support requests, and feedback.
- Sales: Lead generation, quote requests, and order forms.
- Events: Registrations, bookings, and event inquiries.
- Internal: Staff forms and administrative workflows.
You can create subfolders for more detailed organization, move forms between folders, and easily locate forms that haven’t been assigned to a folder using the Unfiled view.
Best of all, organizing your forms doesn’t affect how they work on your website. It’s simply a tidier way to manage them.
Before handing over a website, spend a few minutes arranging your forms into a structure your client will understand. A well-organized forms list makes future maintenance considerably easier.
2. Keep Your Forms Looking Consistent
You’ve spent time getting the website’s branding just right. The colors, typography, spacing, and buttons all look consistent. Your forms should be no different.
With the WS Form Styler, you can create and manage styles that can be applied across multiple forms.
The Styler provides over 400 customizable settings, giving you control over everything from field labels and borders to button colors, typography, and spacing.
Rather than styling every form individually, create a style that matches your client’s branding and apply it to their forms.
You can also configure a default style so that newly created forms automatically use your preferred design.
This is particularly useful when clients need to create additional forms after handover. They’ll start with a design that already matches their website, without having to worry about choosing the right colors or configuring every styling option themselves.
And because multiple forms can share the same style, future branding changes can be made centrally rather than updating each form individually.
Consistent branding, less maintenance, and fewer opportunities for your client to get creative with the color picker.
3. Test Everything Before Going Live
Just because a form looks right doesn’t mean everything behind the scenes is working as expected.
Before handing over a website, make sure every form has been thoroughly tested, including its validation, conditional logic, email notifications, and integrations.
The WS Form Debug Console makes this process considerably easier.
Instead of manually entering test data into every field, the Debug Console can automatically populate forms with sample data, helping you test complex forms more efficiently.
It’s particularly useful for testing forms with multiple sections, conditional logic, calculations, and integrations.
Before handover, make sure you check:
- Validation: Required fields and validation rules behave as expected.
- Conditional Logic: Fields, sections, and actions respond correctly to user input.
- Email Notifications: Emails are delivered to the correct recipients with the expected content.
- Integrations: Submissions are correctly processed by connected services.
- Confirmation Messages: Users receive the appropriate confirmation or redirect after submitting a form.
- Responsive Layouts: Forms work correctly across desktop, tablet, and mobile devices.
It’s also worth performing a final test on the live website rather than relying entirely on testing completed in a staging environment.
A few minutes of testing before handover can save an awkward conversation with your client later.
4. Keep the Spam Out
Nothing ruins a successful website handover quite like a client’s inbox filling up with spam submissions.
Before handing over a website, make sure your forms have appropriate spam protection measures in place.
WS Form includes a variety of spam prevention features to help protect forms in WordPress from unwanted submissions.
These include:
- Honeypot: Helps detect automated submissions without requiring visitors to complete a challenge.
- CAPTCHA and Turnstile: Integrations with Cloudflare Turnstile, hCaptcha, reCAPTCHA, and CaptchaFox.
- Spam Detection: Integrations with services such as Akismet, CleanTalk, and OOPSpam.
- Submission Blocking: Block unwanted submissions based on keywords, IP addresses, domain names, and user agents.
- IP Throttling: Help prevent repeated submissions from the same IP address.
- Duplicate Submission Detection: Help prevent repeated submissions containing the same data.
You don’t necessarily need every spam prevention feature enabled. Choose the measures that best suit the website and the types of forms being used.
Before handover, test that legitimate submissions are accepted and spam protection is working as expected. It’s also worth showing your client where to find submissions that have been marked as spam.
A little preparation now can save your client from a lot of unwanted emails later.
5. Lock It Down Before Going Live
You’ve spent hours getting a form just right. The fields are configured, the email notifications are working, and the conditional logic has been thoroughly tested.
The last thing you need is someone accidentally changing a setting on a live form.
With Form Locking, you can protect completed forms from unwanted changes.
When a form is locked, its configuration cannot be edited until it has been unlocked by a user with the necessary WordPress capabilities.
Locking a form does not stop it from working on your website. Visitors can continue to complete and submit the form as normal.
When changes are needed, an authorized user can unlock the form, make the necessary updates, and lock it again.
Don’t Forget the Styling
You’ve probably spent just as much time getting your forms to look right as you have getting them to work right.
WS Form also supports Style Locking, allowing you to protect your carefully configured form designs from unwanted changes.
Form and style locking work independently, so make sure you lock both when handing over a completed website.
It’s a simple way to protect all that hard work from an accidental click.
6. Give Clients the Access They Need, Not the Access They Don’t
Handing over a website doesn’t necessarily mean handing over control of every form setting.
Some clients may need to view submissions but have no reason to edit a form’s layout, conditional logic, or styling.
WS Form includes a comprehensive set of WordPress User Capabilities that let you control what different users can do.
For example, you can configure permissions to allow a client to view submissions without granting them permission to edit forms.
There are also separate capabilities for locking and unlocking forms and styles.
This means you can allow trusted administrators or developers to unlock a form when maintenance is required, while preventing other users from making changes.
By default, administrators have these capabilities, but you can assign them to other roles using a suitable WordPress role management plugin.
For agencies, this provides an additional level of control when handing over a website.
Your client gets access to the functionality they need, while important form configurations remain protected.
7. Back It Up Before You Hand It Over
Even with everything neatly organized and locked down, it’s worth keeping a backup of your forms.
WS Form includes Import and Export functionality that allows you to download a form as a JSON file.
These files can be imported back into WS Form or used to transfer forms between websites.
Before handing over a client website, consider exporting your important forms and keeping the files with your project documentation.
If you need to revisit an earlier configuration, you’ll have a copy to refer to.
You can also export styles and reusable sections, making it easier to preserve the work you’ve done or transfer configurations to another website.
Remember that form exports are backups of form configurations, not a replacement for a full website backup that includes submissions, uploaded files, and other website data.
It’s a small step that can save a considerable amount of time later.
8. Make It Easy for Clients to Build Their Own Forms
Handing over a website doesn’t always mean your work on its forms is finished. Your client may need to create additional forms in the future, and ideally, you’d like them to follow the same standards you’ve already established.
Rather than expecting clients to build everything from scratch, you can give them a head start using reusable sections and custom form templates.
Create Reusable Form Sections
The WS Form Section Library allows you to save sections of a form for reuse elsewhere on the website.
Think of these as ready-made building blocks that your client can use when creating their own forms.
For example, you could create reusable sections for:
- Contact Details: Consistent name, email, and telephone fields.
- Address Information: A standardized address section with the appropriate fields and settings.
- Marketing Consent: Consent fields with approved wording and configuration.
- Additional Information: Common questions or fields used across multiple forms.
Using My Sections, you can save these sections to the library, where clients can easily drag and drop them into their forms.
Sections can also include conditional logic, allowing you to provide more advanced functionality without requiring clients to configure it themselves.
This is a convenient way to provide consistent chunks of a form that clients can reuse whenever they need them, without having to understand how every field or setting works.
Provide Custom Form Templates
Sometimes a reusable section isn’t enough. Your client might regularly need to create entirely new forms that follow an established structure.
WS Form allows developers to add custom templates to the form template library, giving clients access to their own collection of preconfigured forms.
For example, you could provide templates for contact forms, event registrations, customer feedback, or internal requests, all configured with the fields and functionality appropriate to the client’s website.
Custom templates are created by exporting forms as JSON files and registering them with the WS Form template library. Once configured, they appear alongside the other templates when creating a form.
Instead of starting with a blank form, clients can select a template you’ve prepared and customize it for their needs.
Combined with reusable sections and a default style, custom templates make it easier for clients to create forms consistently while reducing the amount of ongoing support required from your agency.
Your Client Handover Checklist
Before handing over your next website, here’s a quick checklist to help keep your forms organized, protected, and ready for your client to manage.
- Organize forms into logical folders and subfolders.
- Configure consistent styling and a default style.
- Test forms, notifications, integrations, and conditional logic.
- Configure and test spam protection measures.
- Lock completed production forms.
- Lock finalized form styles.
- Review WordPress user capabilities and client permissions.
- Export important forms, styles, and reusable sections for backup.
- Save commonly used sections to the section library.
- Create custom form templates for clients who need to build their own forms.
- Document who is responsible for maintaining and updating the forms.
Less Chaos. More Control.
A well-built form deserves to stay that way.
From organizing forms and maintaining consistent styling to preventing spam, protecting configurations, and providing reusable building blocks, WS Form gives you the tools to prepare forms for a smooth client handover.
And by providing clients with the right permissions, default styles, reusable sections, and custom templates, you can give them the flexibility to manage and create their own forms without having to start from scratch.
Whether you’re handing over a small business website or a large project with dozens of forms, a little preparation goes a long way.
Build it. Organize it. Test it. Protect it. Hand it over.
Then move on to your next project with confidence.