The Amazon S3 add-on allows you to configure file fields to upload to a connected Amazon S3 account. You can choose which path to upload the files to and can easily access the files from the submissions page.
The add-on creates a new file handler to WS Form called Amazon S3.
Installation
The Amazon S3 add-on is installed in the same way as installing the WS Form PRO plugin.
Once installed you will need to activate the license for the plugin. When you purchase the Amazon S3 add-on, you will be given a license key. If you have lost your license key(s), click here.
To activate your license key:
- Click WS Form in the WordPress administration menu.
- Click Settings.
- Click the Amazon S3 tab at the top of the page.
- Enter your license key.
- Click the Activate button.
If your license key fails to activate, please ensure you are using the correct license key and not your WS Form PRO license key.
Connecting to Amazon S3
In order to use the add-on, you need to connect it to Amazon S3.
First you will need to create IAM user credentials. To do this:
- Open the IAM console in your Amazon account.
- Click Users from the side menu.
- Click Create User.
- Enter a User Name.
- Ensure the user has read and write permissions for the S3 service. You may wish to create a new policy specifically for this purpose. Learn more.
- Edit the newly created user, then click the Security credentials tab.
- Under Access keys click Create access key.
- Choose Third-party service as the user case.
- Click Create access key.
- Copy the provided access key and secret key and store it somewhere securely.
Next you will need to enter the access key and secret key in WS Form settings
- Click WS Form in the WordPress administration menu.
- Click Settings.
- Click the Amazon S3 tab at the top of the page.
- Enter the access key and secret key.
- Click Save.
Alternatively you can add the keys to your wp-config.php file as follows:
define('WSF_AMAZON_S3_ACCESS_KEY', 'PASTE YOUR ACCESS KEY HERE');
define('WSF_AMAZON_S3_SECRET_KEY', 'PASTE YOUR SECRET KEY HERE');
How to Configure File Fields for Amazon S3
To configure a file field to push its uploads to Amazon S3:
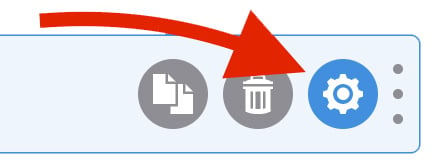
- Click the settings icon on the file field.
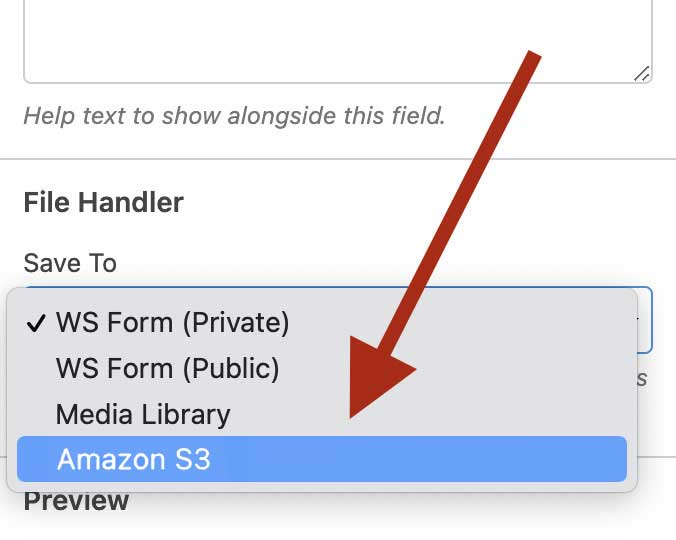
- In the basic tab change the File Handler setting to Amazon S3.
- Choose the region of your bucket, e.g.
us-west-2 - Enter the name of the bucket you wish to upload files to, e.g.
ws-form. This must match the name of an existing bucket. Learn more. - Optionally, change the upload path.
The upload path defaults to:
WS Form/#form_id/#submit_hash/#field_id/
You can use WS Form variables in this path to make it dynamic. The default value ensures each form, submission and field on the form is given its own folder in Amazon S3 to minimize the chance of files being overwritten. Bear in mind that each file field can be configured with the Multiple setting to be able to upload more than one file.
Some variables you might find helpful for this path are:
| Variable | Description |
|---|---|
#form_id |
Returns the ID of the form. |
#submit_hash |
A unique identifier for the submission. |
#field_id |
The ID of the file field. |
Accessing Amazon S3 Uploads
To access the files that are uploaded to Amazon S3, you can click on the file upload icons in submissions as you would any other file upload. The files are, of course, also accessible from within your Amazon S3 bucket.
